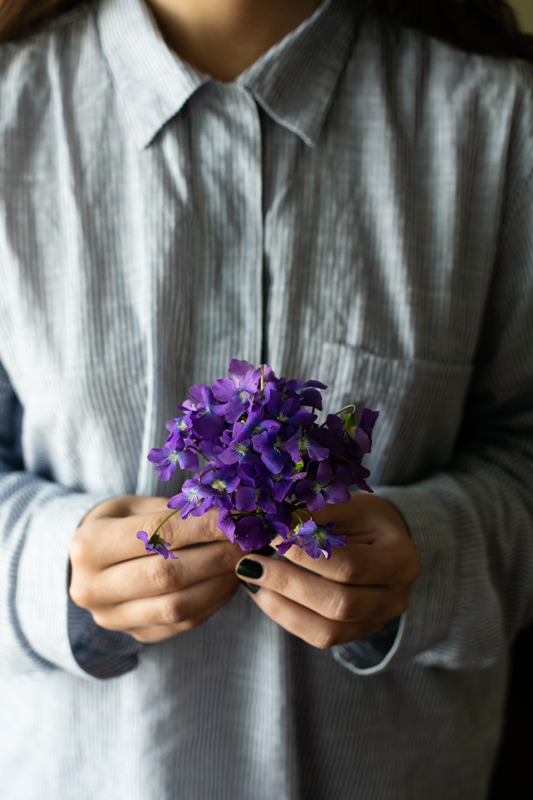

It’s spring, which means it’s time for picking the hundreds (maybe even thousands) of wild violets that are sprinkled across our lawn.
.jpg)
This year it was just me, as our girls are grown and spread around the country, save for our youngest who was visiting family in yet another state.
So, I picked my own tiny wild violet bouquets and sugared my own petals – all the while picturing their little hands trying to hold as many as they possibly could without crushing them, watching them nibble on the petals, talk about ‘painting’ the tiny purple flowers and dipping them in the sugar, and of course making and eating the cupcakes that these tiny crystallized violets would sit atop.
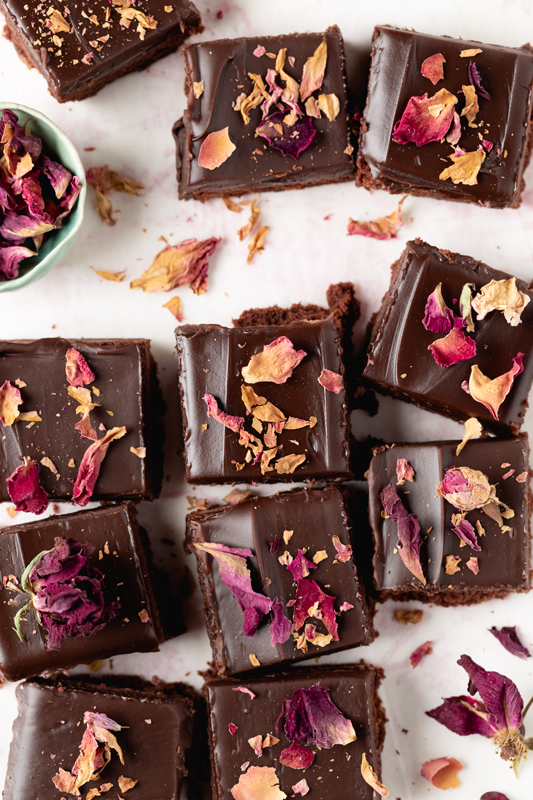
We have a tried and true chocolate cake/cupcake recipe that is our staple, but when I spotted Violet Bakery’s (yes, the same Claire Ptak who created the insanely gorgeous wedding cake for the new Duke and Duchess of Sussex) recipe for Chocolate Devil’s Food Cake with Marshmallow Icing, how could I not give it a try.
Find Claire’s recipe at the end of the post, via Heidi of 101 Cookbooks, where I found it.
Thanks again Heidi:)
Other than making cupcakes, using yogurt, and adding a teaspoon of espresso to the cake batter, I followed the recipe, which was PERFECTION.
Be forewarned that no amount of willpower will keep you from licking the bowls, spoons, and whisks of rich chocolate batter, or the rich, gooey marshmallow icing!
The easy prep of making the sugared violets is at the end of the post, as well.
Here’s to another spring, to honoring traditions, to children, open windows, late afternoon sun, quiet moments and sweet offerings.
.jpg)
.jpg)
.jpg)
.jpg)
.jpg)
.jpg)
.jpg)
Sugared Wild Violets
- Gather a healthy cupful of wild violets and gently shake them of any visible debris or insects.
*Of course, be sensible and only choose anything foraged, plucked, picked, or snipped that has never been chemically treated. - Place them in water to keep the petals open and flat.
- Separate the flower heads from the stems.
- Use a soft paintbrush to thoroughly coat the individual petals with a bowl of egg wash (one small egg white’s worth.)
- Hold the flower over a bowl of super fine sugar, and use a spoon to lightly sprinkle it all over each petal and place on a parchment lined baking sheet. If you don’t have any , just let a couple of tablespoons of regular sugar wiz in a blender for a couple of seconds, don’t let it get powdery.)
- Once you’ve gone through all of your violets, place the sheet pan in the lowest setting (170 degrees for mine) oven for about 1/2 hour
to bake and set. - When finished, the violets will be a bit on the fragile side, so be gentle when moving them to add to the cupcakes/cake.
Two thin forks work well. - I store whatever I have left in a glass tupperware container, in between layers of parchment paper, in the fridge.
They should last up to 3 months, if you even have them that long.
Violet Bakery Chocolate Devil’s Food Cake
Claire notes that:
This is a great “make-ahead” cake. It keeps well for a couple of days. Ideally, you’ll want to bake it the night before you want to fill it, giving the crumb a chance to settle. Similarly, it’s best to fill the cake and then chill it for a couple of hours before icing the tops and sides. Much easier than frosting a warm, crumbly cake.
I iced this one all in one go – after it completely cooled, and after cooling overnight.
*Important! The cake pictured on her site was baked in two 6-inch x 3-inch pans. Each cake was divided in half, for the four layers.
*Note / update – The recipe in the book calls for one 8-inch pan, but a few of you had trouble with batter filling over (I suspect Claire uses 3-inch deep pans). I’ve updated the recipe to call for two 8-inch pans.
*I used a good, mild olive oil here.
1 1/2 cups plus 1 tablespoon / 200g all-purpose flour
1 cup / 100g cocoa powder
1 teaspoon kosher salt
2 teaspoons baking soda
1 teaspoon baking powder
2 1/4 cups / 450g sugar
2 eggs
1 teaspoon vanilla extract
3/4 cup plus 2 tablespoons / 200g buttermilk or plain yogurt
7 tablespoons / 100g vegetable oil*
1 cup / 225g hot water
Measure the dry ingredients, including the sugar, into a large mixing bowl and whisk with a balloon whisk to distribute the salt, baking soda, and baking powder evenly throughout the other the dry ingredients.
In another bowl, whisk together the wet ingredients (except for the hot water). Once they are well whisked together, slowly whisk in the hot water.
Make a well in the center of the dry ingredients and pour half of the wet mixture. Starting in the middle of the bowl, whisk in a clockwise, circular motion. Don’t switch direction or you’ll end up with lumps. Gradually add the remaining wet ingredients until you have a smooth, liquid batter.
If you are making a large cake, pour the batter into your pan(s) right away and bake for 40 to 50 minutes until the top is springy to the touch and an inserted skewer comes out clean. If you are making cupcakes, scrape the batter into a container that will fit into your fridge and put a lid on top. Chill the batter for at least one hour. This will thicken it and make it easier to spoon into your cupcake liners. Bake the cupcakes for 18 to 20 minutes, until the tops are springy to the touch and an inserted skewer comes out clean.
Decorate your cake or cupcakes with the following Marshmallow Icing.
Makes one 8-inch (20 cm) cake or 24 cupcakes, serving 12
Violet Bakery Marshmallow Icing
Claire recommends using a candy thermometer here.
3 egg whites
2 1/4 cups / 450g sugar
1/2 cup / 120g water
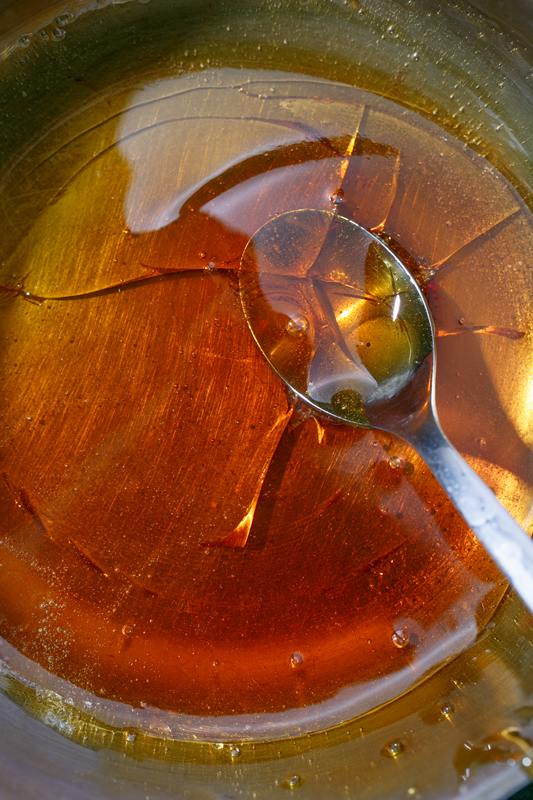
1 1/2 tablespoons golden syrup
a pinch of salt
1 1/2 tablespoons vanilla extract
1 vanilla pod, seeds scraped out (optional)
Have your stand mixer with the whisk attachment at the ready.
Measure all of the ingredients into the metal bowl of the stand mixer and place over a pan of boiling water (do not let the water touch the bottom of the bowl or it will cook the egg whites). Whisk continuously until the sugar dissolves and the mixture is very warm to the touch. If using a candy thermometer, whisk continuously for two minutes or until it reads 158˚F to 167˚F (70˚C to 75˚C), whichever comes first. Transfer the bowl to your mixer and whisk on high speed until nearly stiff peaks form.
Put the icing into a piping bag with a large round tip (or use a spoon) and pipe (or spoon) large blobs onto your cooled cake or cupcakes. For this cake I iced between the layers, did a thin crumb layer next, and then used a big offset spatula to ice the sides and top.
Makes enough to ice 24 cupcakes.
Recipe from The Violet Bakery Cookbook by Claire Ptak (Ten Speed Press, 2015)
Prep time: 15 minutes – Cook time: 50 minutes